A lamp thatlistensdims itselfreads the roomglows at night
A lamp that dims itself when the room is already bright, and glows as it gets dark. You decide whether it’s on. The room decides how bright.
- Role
- Arduino code, wiring, sensor calibration
- Team
- Pair project with Myles
- Time
- 2–3 weeks
- Tools
- Arduino, Fusion 360, laser cutter, soldering iron
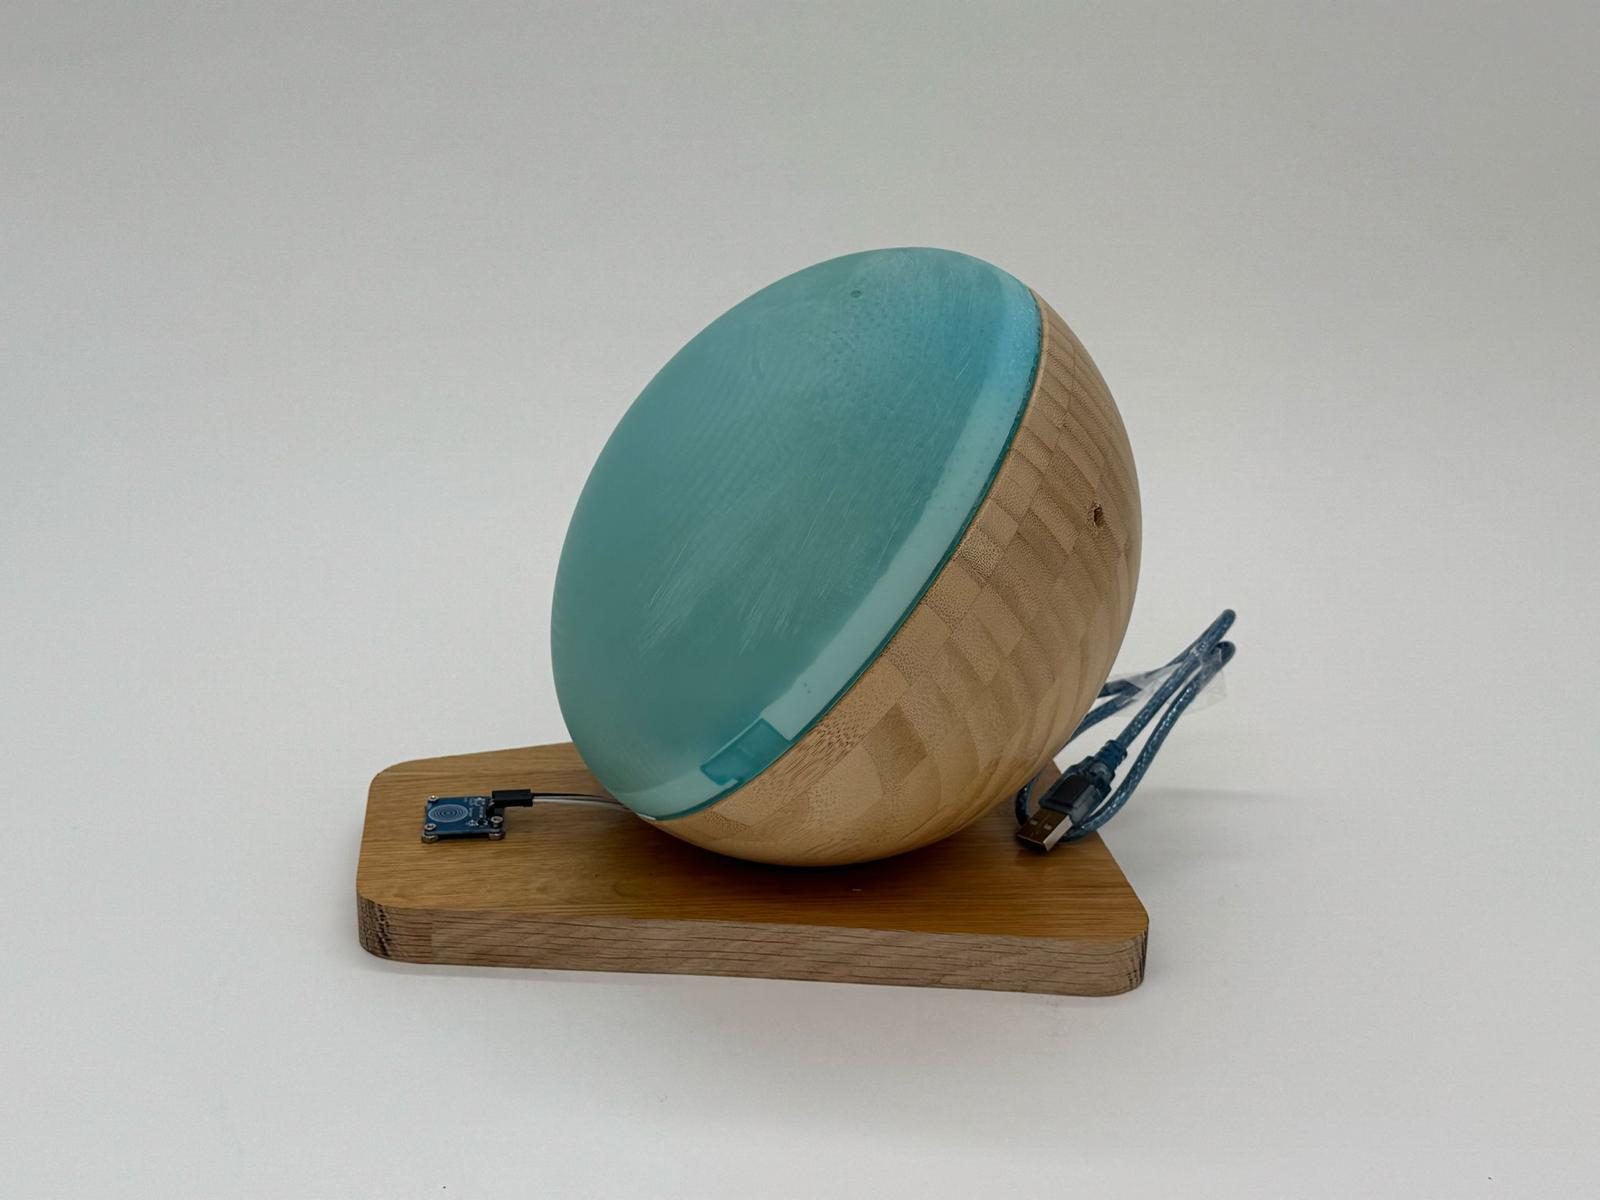
Point at a dot to find out what each part does, and why it’s there.
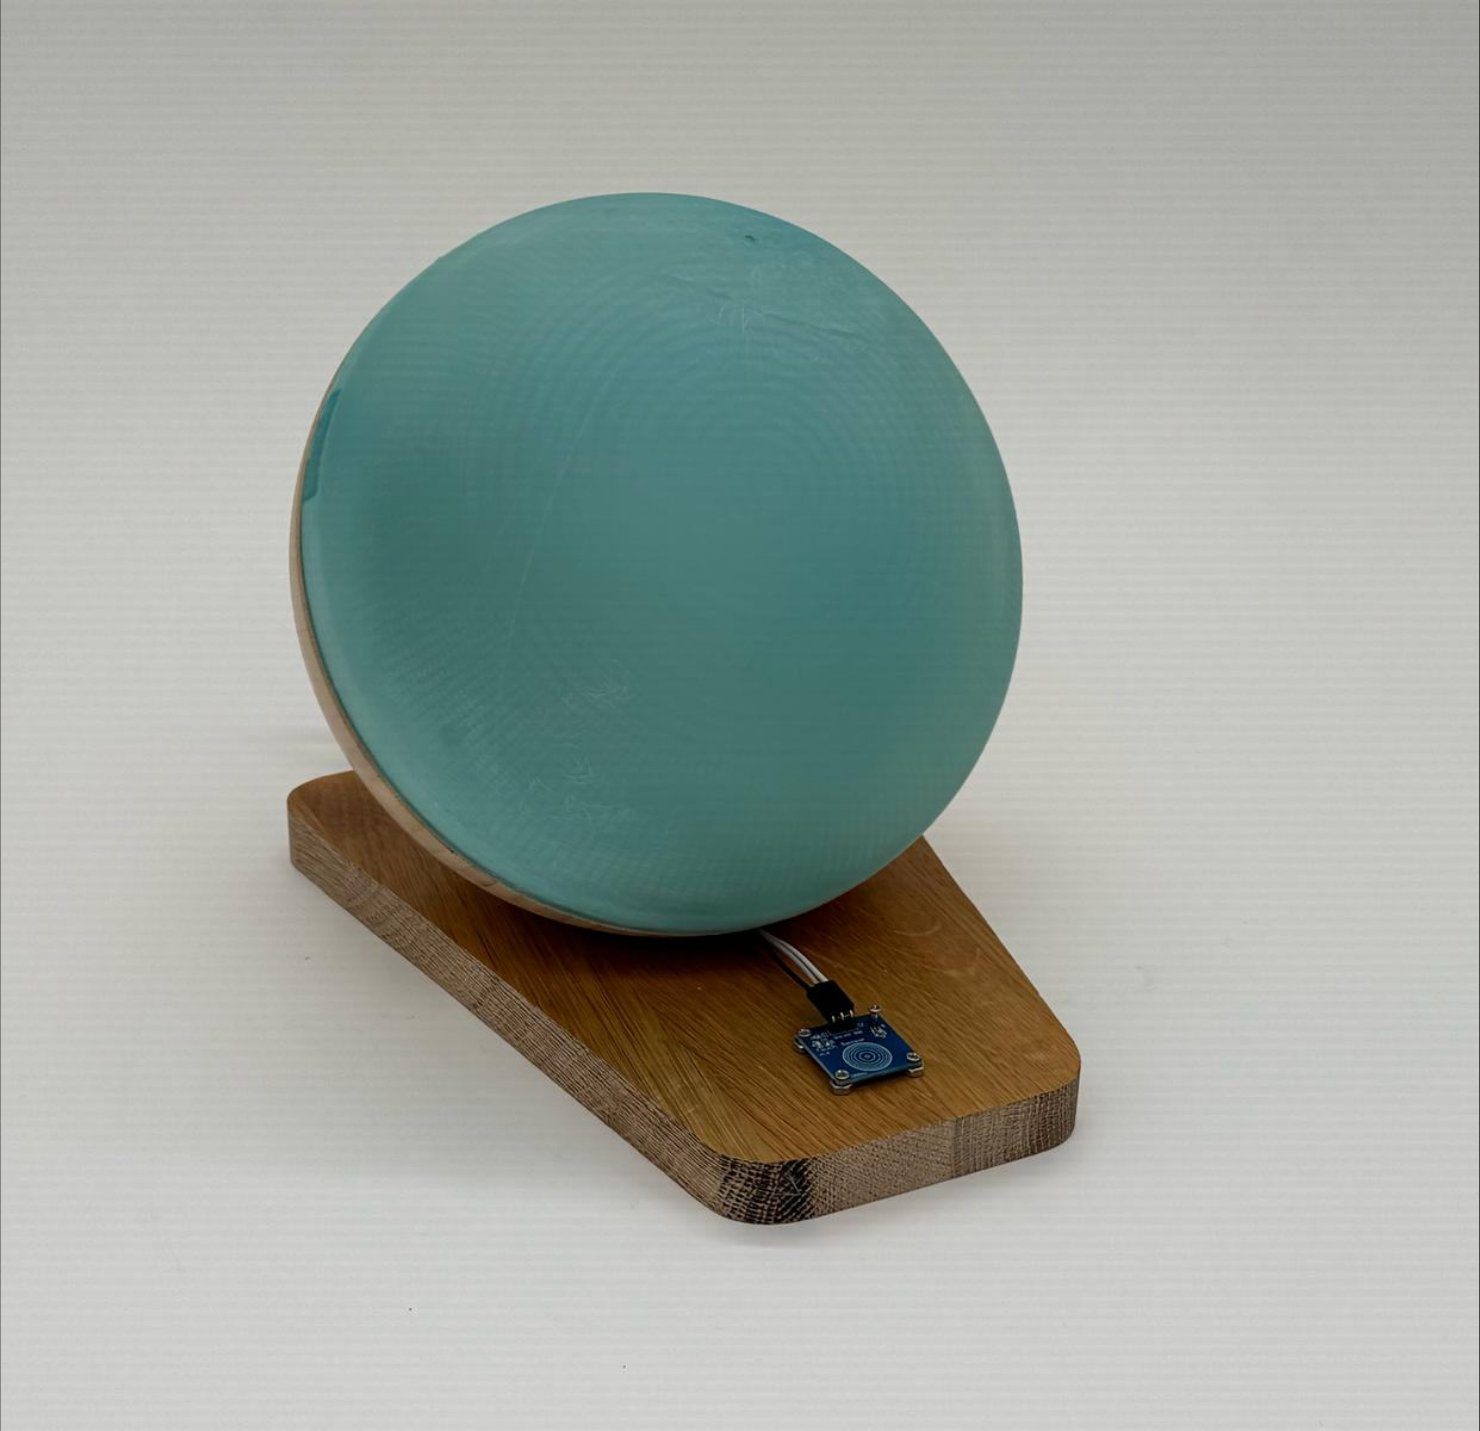
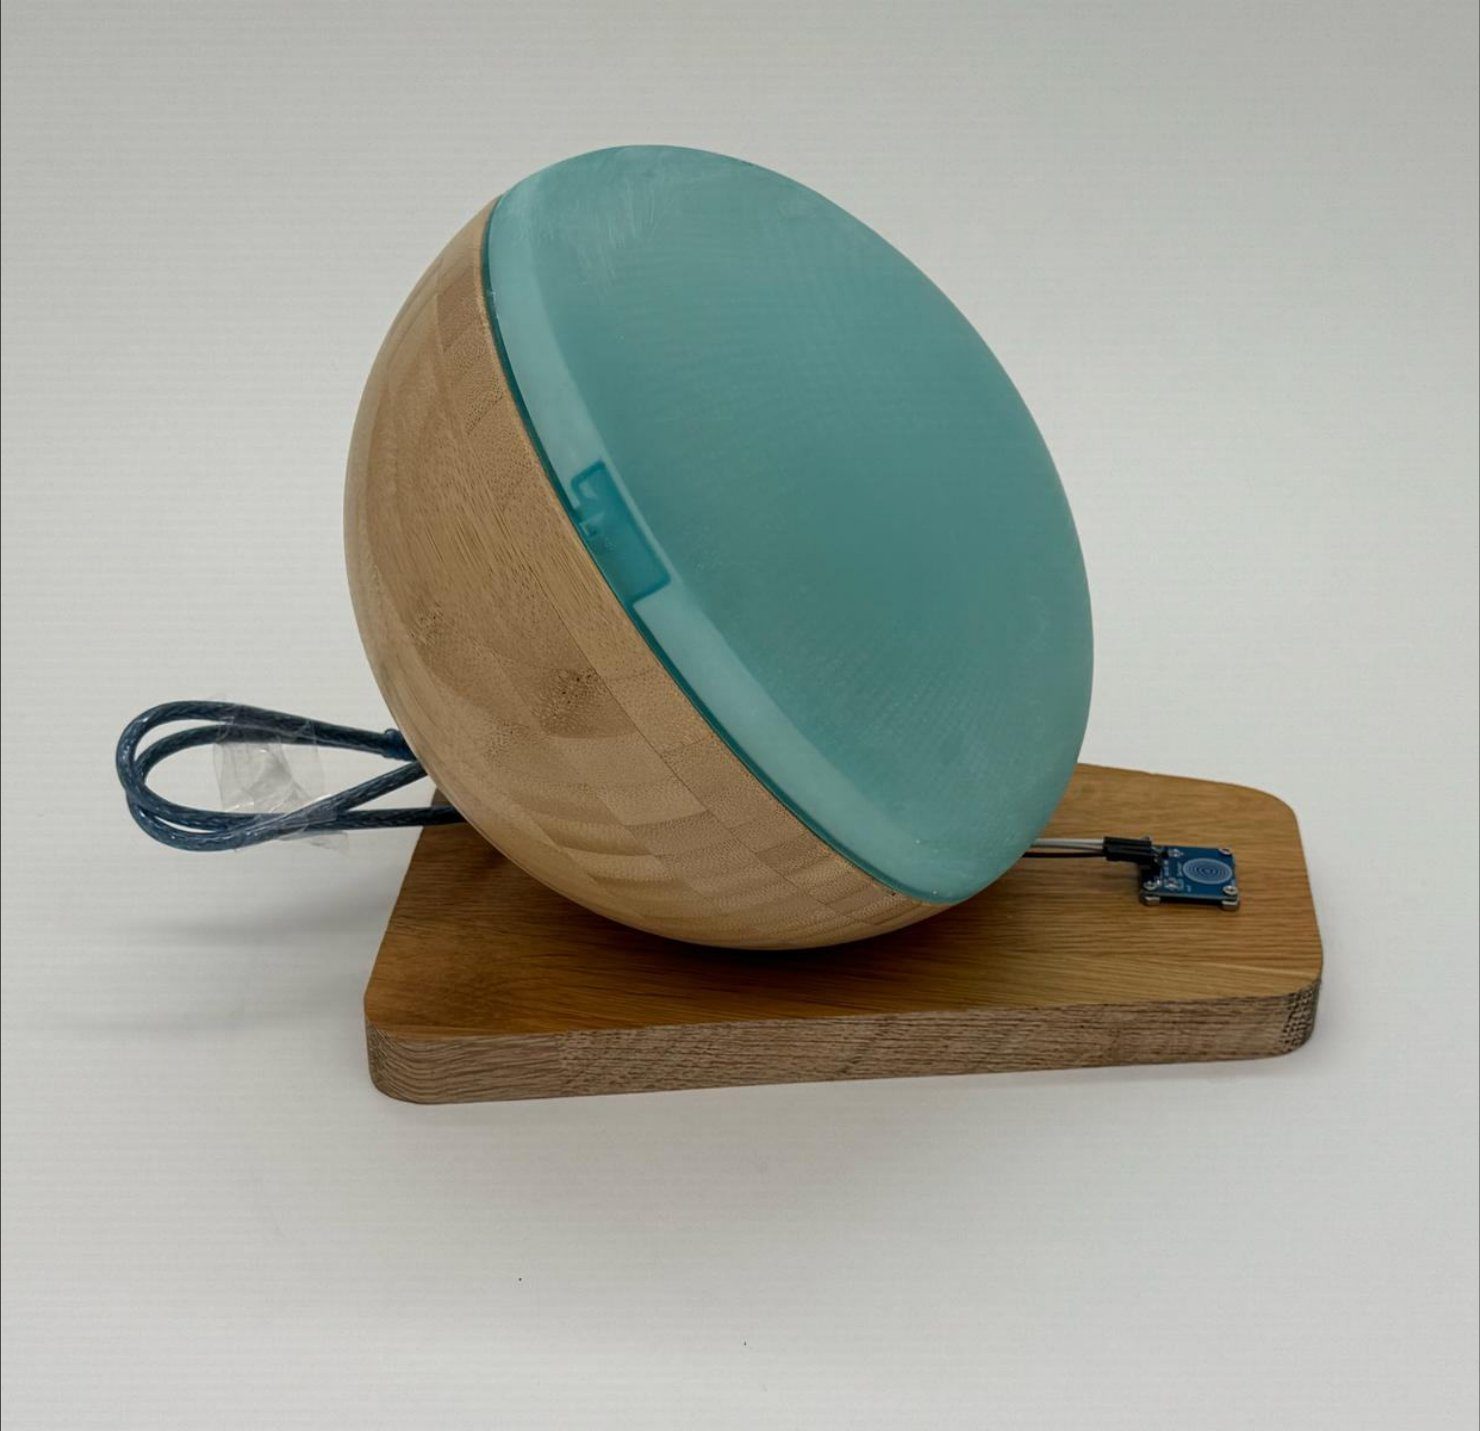
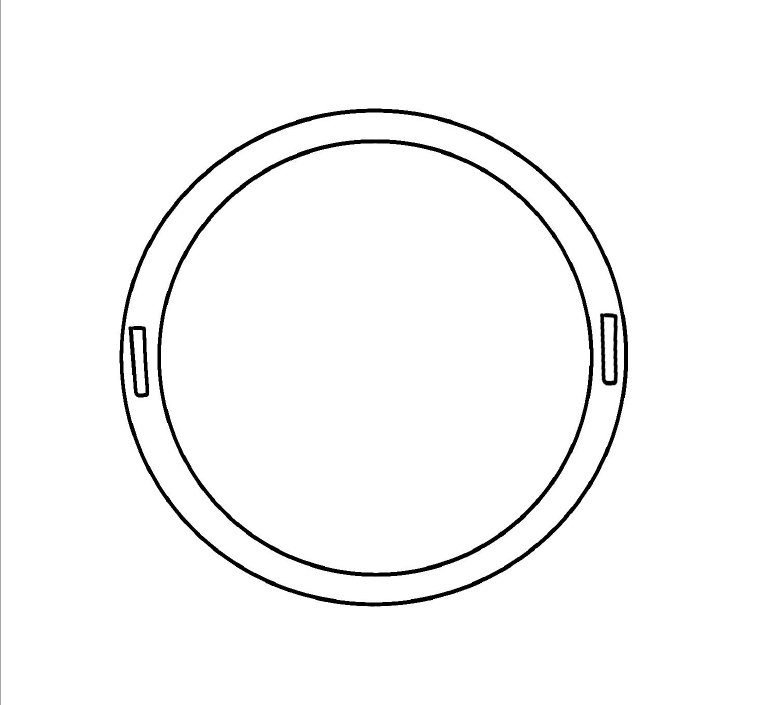
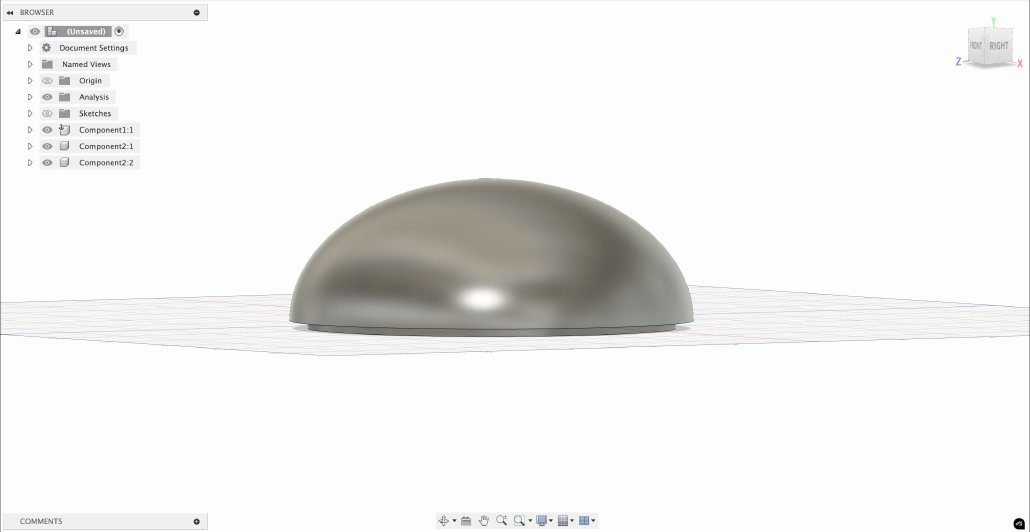
Printed in translucent blue resin by Myles in Fusion 360. Lowered so the lamp stays compact.
The photoresistor, drilled into the top corner near the back. High enough to read the room, out of the lamp’s own glow.
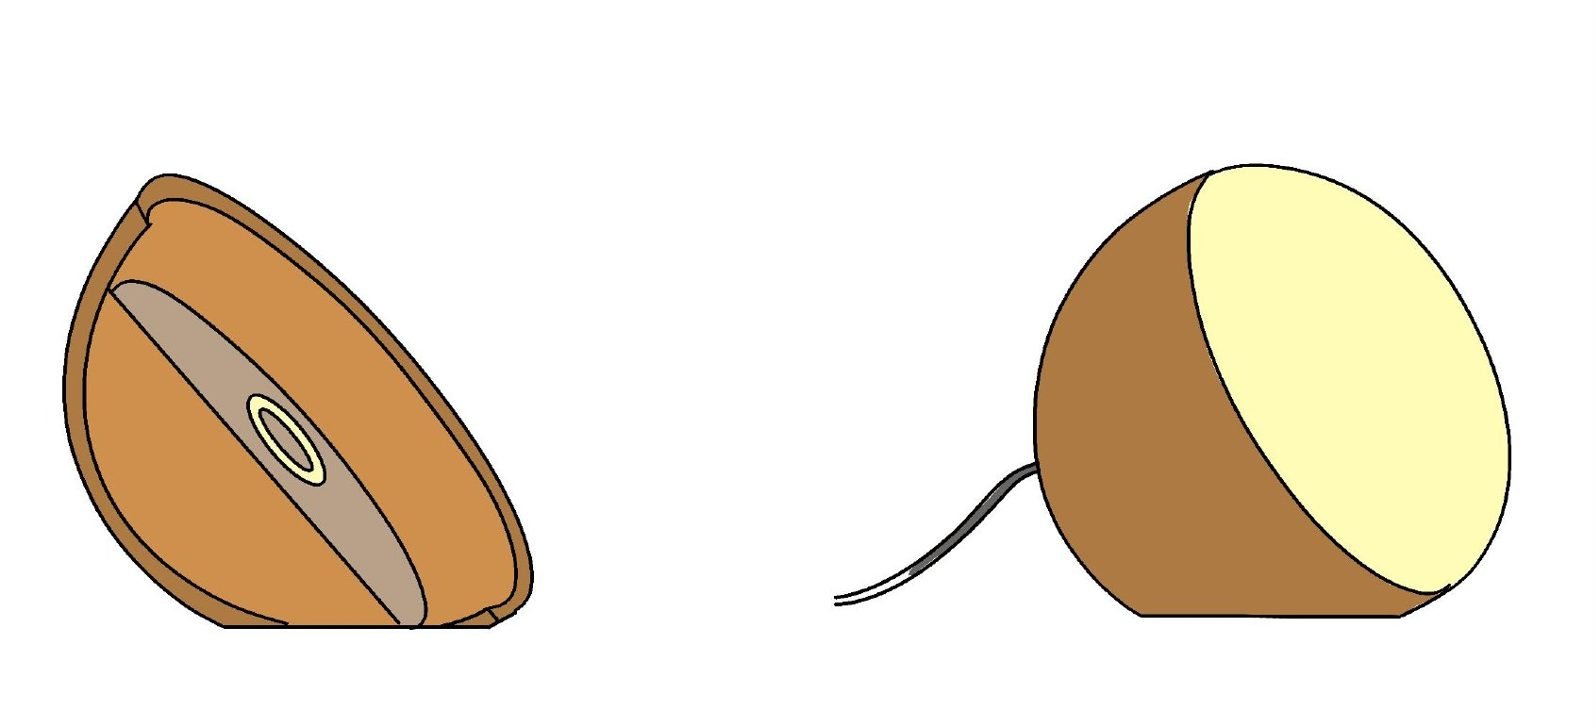
An IKEA bowl, already the right size and shape. One side sanded flat so it tilts towards you.
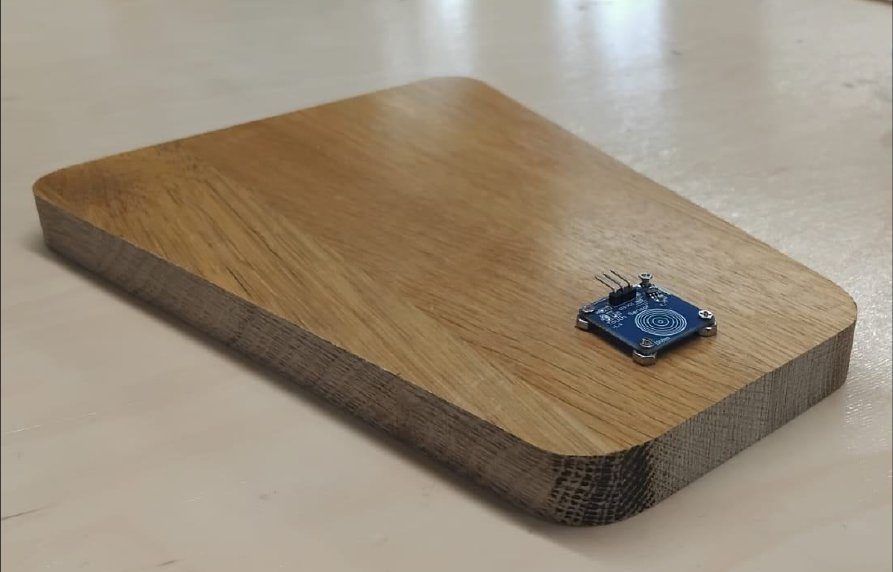
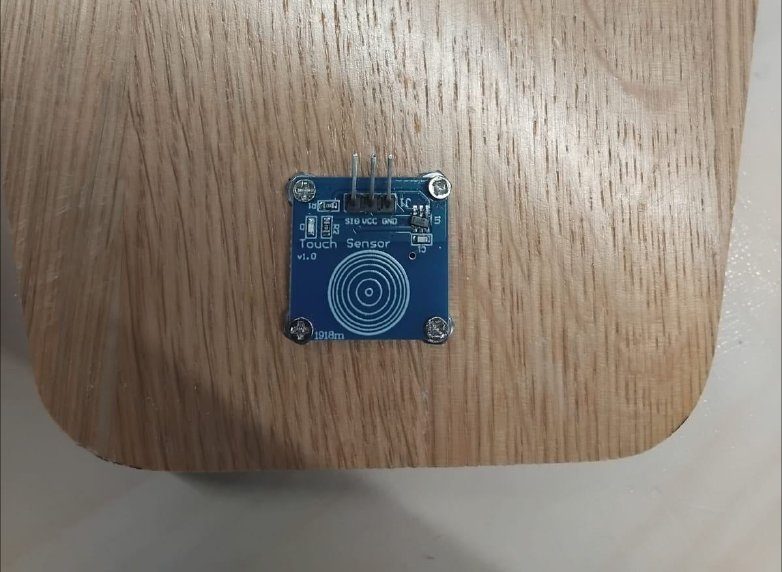
The only thing you touch. Tap to switch the ring on or off. Left on show so you can see how it works.
USB was enough, so the 5V battery and MOSFET were cut.
Oak from the offcut bin, band-sawn at an angle and sanded round to match the bowl.
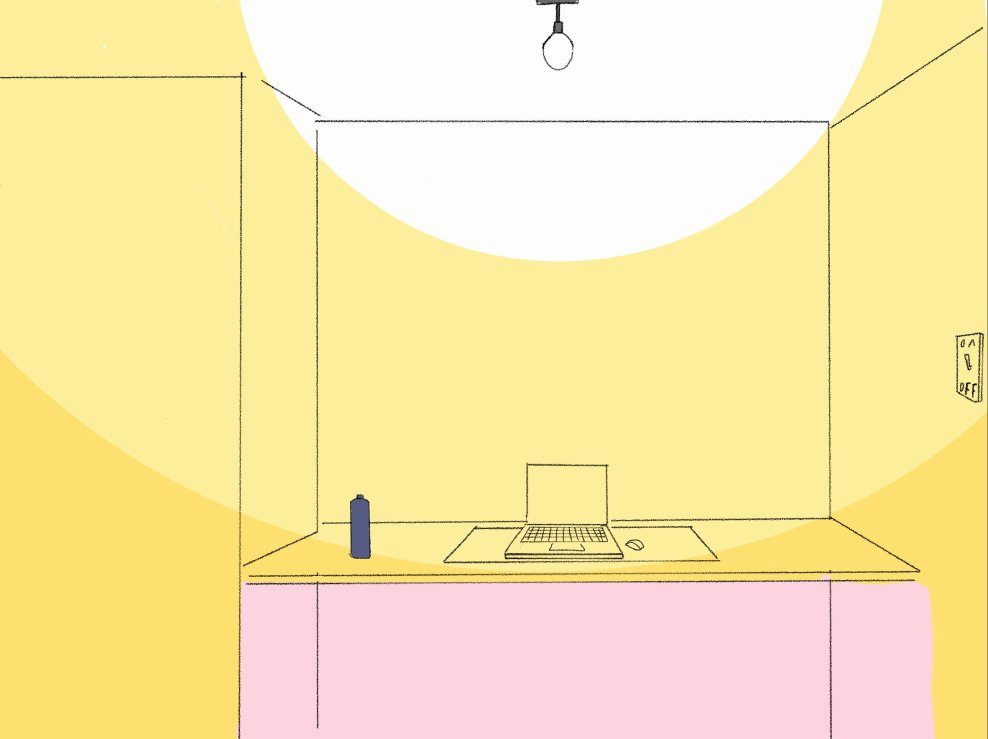
The main light stays on long after anyone needs it.
People leave it on out of habit, fall asleep under it, or walk out without switching it off. Plenty would rather use a small lamp anyway, for studying, working or winding down. We wanted a lamp that doesn’t wait for anyone to remember it.
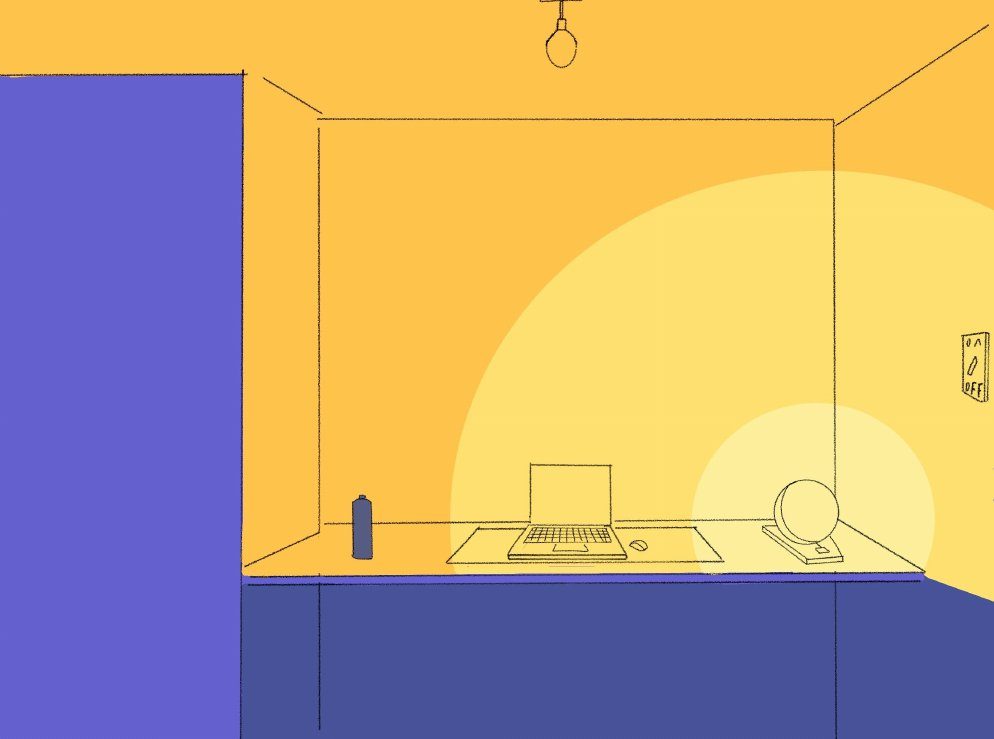
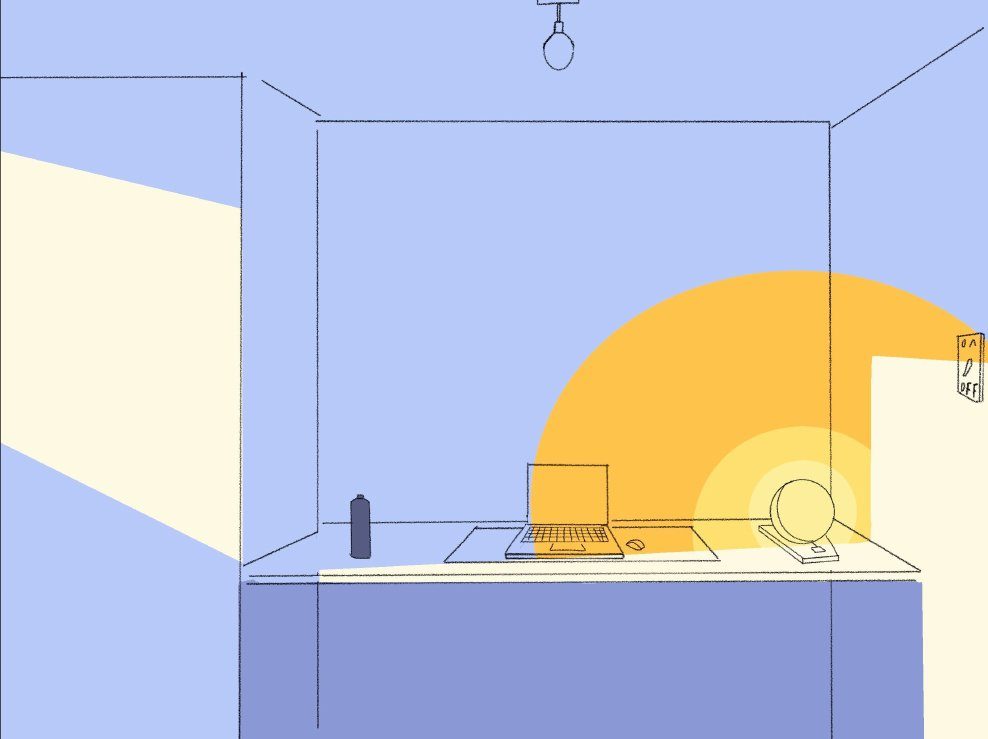
- Too brightThe main light: often too bright, and more energy than the moment needs.
- SofterSwitch to the lamp for a softer light.
- Dark, so fullIt senses low light and goes to full brightness.
- Daylight, so dimAs daylight comes in, it dims on its own.
- Only what’s missingIt only uses what the room is missing.

 01 / 05
We needed six.
Neither of us knew which components an adaptive lamp needed. We studied builds on YouTube and Instructables, tried circuits in Tinkercad, and followed EL Passion’s DIY Smart Lamp tutorial for the code. Then we built with everything and asked people with more experience what we could remove.
- PhotoresistorA0
- Resistor10kΩ
- LED ringPIN 6
- Touch sensorPIN 2
- ArduinoUNO
- Breadboard5V / GND
- 5V batterycut
- MOSFETcut
The body came from IKEA Hacks.
Someone pointed us to IKEA Hacks, where people rework IKEA products into new ones. The bamboo bowl we’d found was already the right size and shape, so we designed the lamp around it.
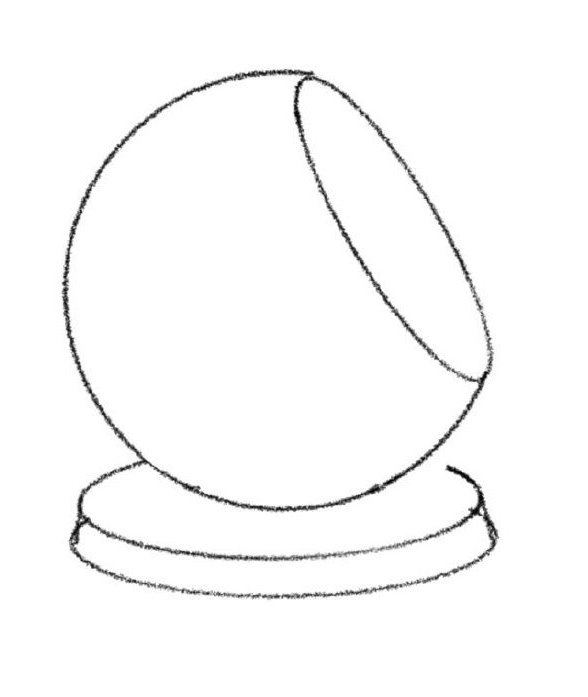
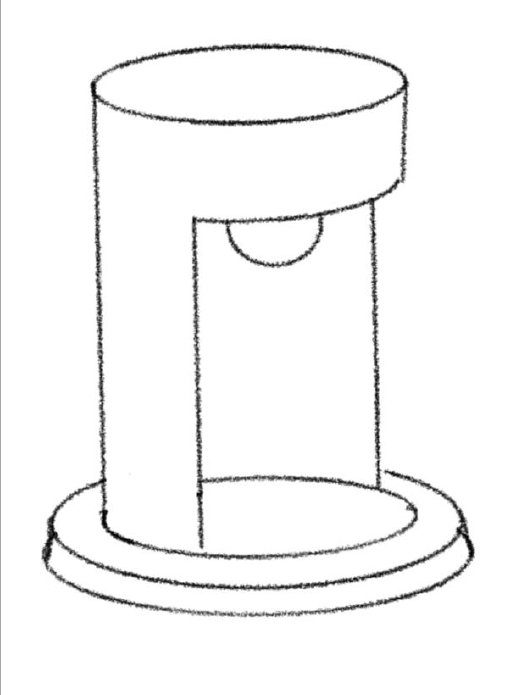
Six directions, one tilt.
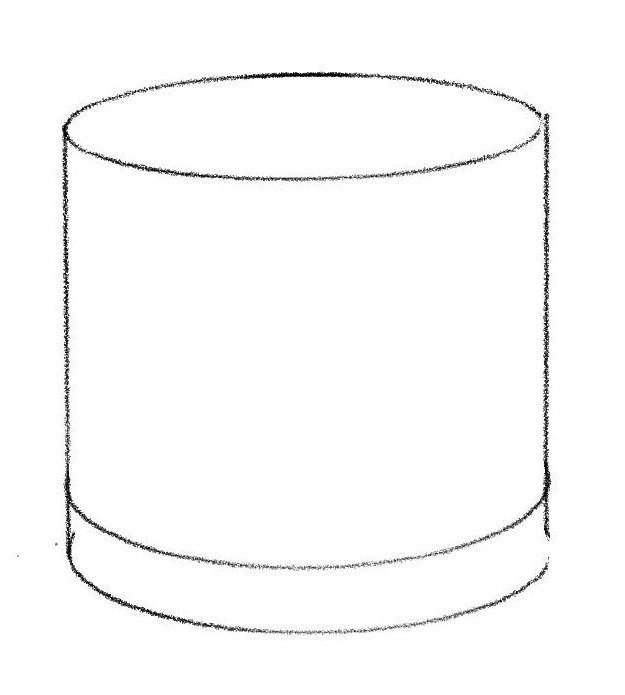
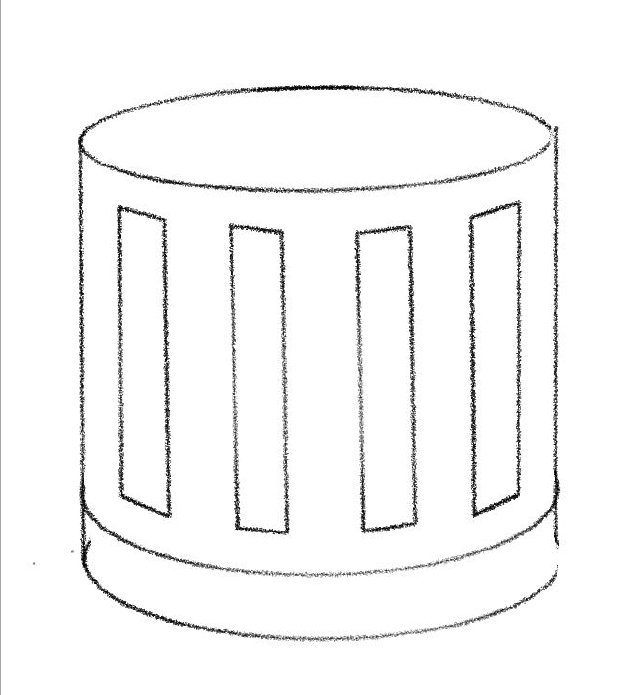
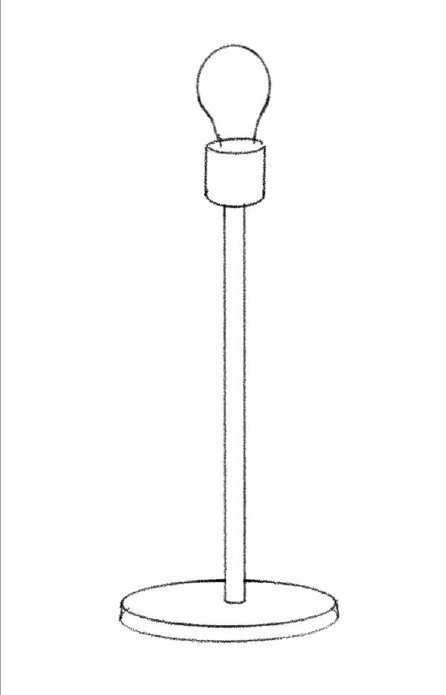
We sketched shades, drums, cages and a pendant. The round forms won: soft edges suited the warm glow we wanted. Then we tilted the bowl so the light faces the person, which meant sanding one side of it flat to sit on.
- Tilted sphereChosen. Soft edges, and the light faces you.
- Arch
- Drum
- Slatted
- Pole
- Goblet
 01 / 06
Take it apart.
Scroll to separate the parts, or drag Explode. Dim the room to see what the lamp does.
One line flips the room’s light into the lamp’s.
The room is bright, so the lamp stays almost off.
The photoresistor gives a number from 0 to 1023. In our room, dark read about 100 and bright about 900. The Arduino maps that range backwards onto LED brightness, and the touch sensor switches the ring on or off.
// more light in, less light outint brightness = map(ldrValue, 100, 900, 255, 1);brightness = constrain(brightness, 1, 255);if (ctsValue == HIGH && lastState == LOW) { ledState = !ledState; // tap toggles on/off}setStripColor(255, 255, 255, ledState ? brightness : 0);WS2812B, wired to pin 6. Bright enough to read through a resin lid.
From 1 in a bright room up to 255 in the dark.
We started with eight. The battery and MOSFET went.
map(ldr, 100, 900, 255, 1). Everything else is wiring.
A lamp that reads light is also making it.
Everything difficult came from that. If the sensor can see the lamp, the lamp dims itself. If readings jump, the LEDs flicker.
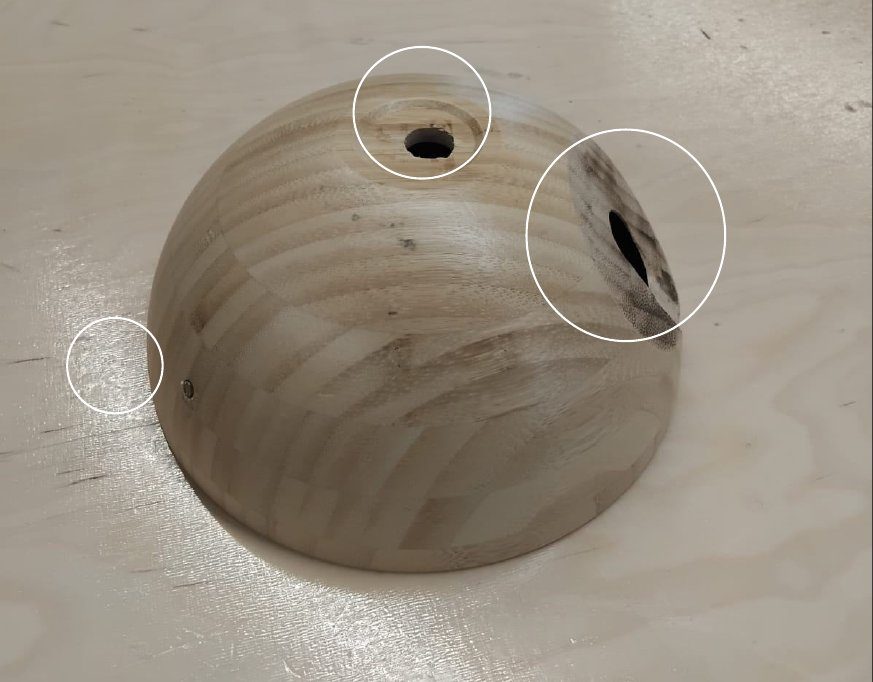
Where the sensor lives
We drilled the photoresistor into the top corner of the bowl, close to the back. It isn’t directly behind, so a wall doesn’t block it. It’s high enough to read the room and out of the lamp’s own glow. The hole is barely wider than the sensor, so it sits flush.
Flicker, and false taps
At first the ring flickered while dimming instead of fading. Raw LDR readings swing a lot. Calibrating a fixed range (100–900) and constraining it gave the brightness a band to move within. The touch sensor triggered on its own too, until I fixed its ground connection and adjusted its sensitivity in code.
Made to be opened.
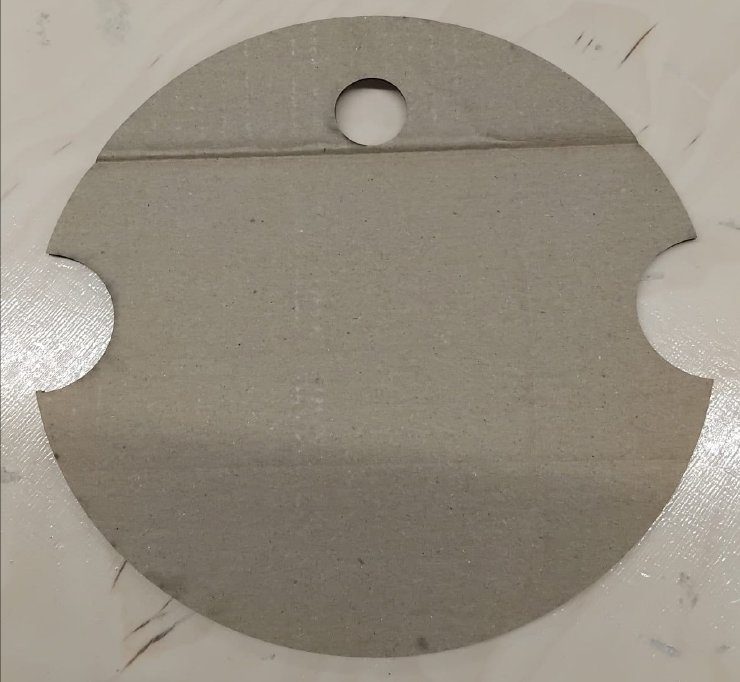
Everything inside can come out again. That mattered because we had to open it a lot when sensors failed.
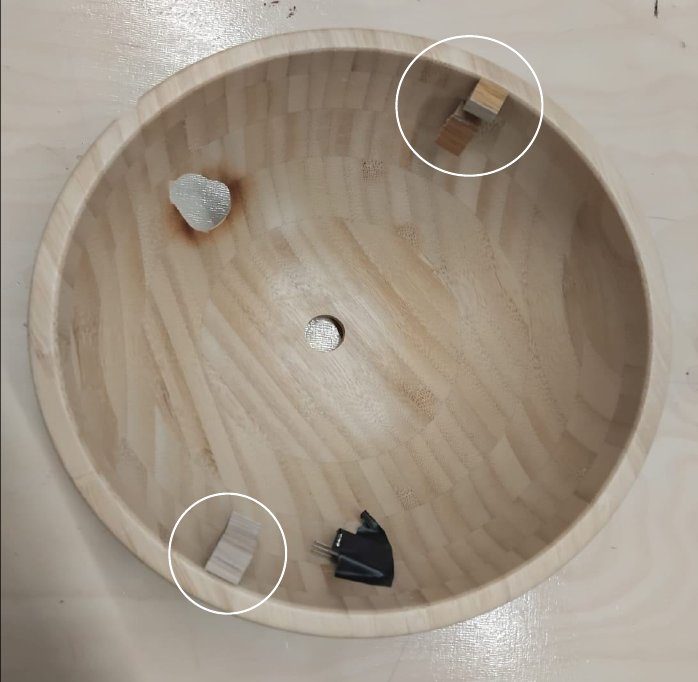
- Two wooden blocksInside the rim, they hold the platform down.
- Twist to unlockLine the notches up with the blocks and the platform lifts out. The third hole is for your finger.
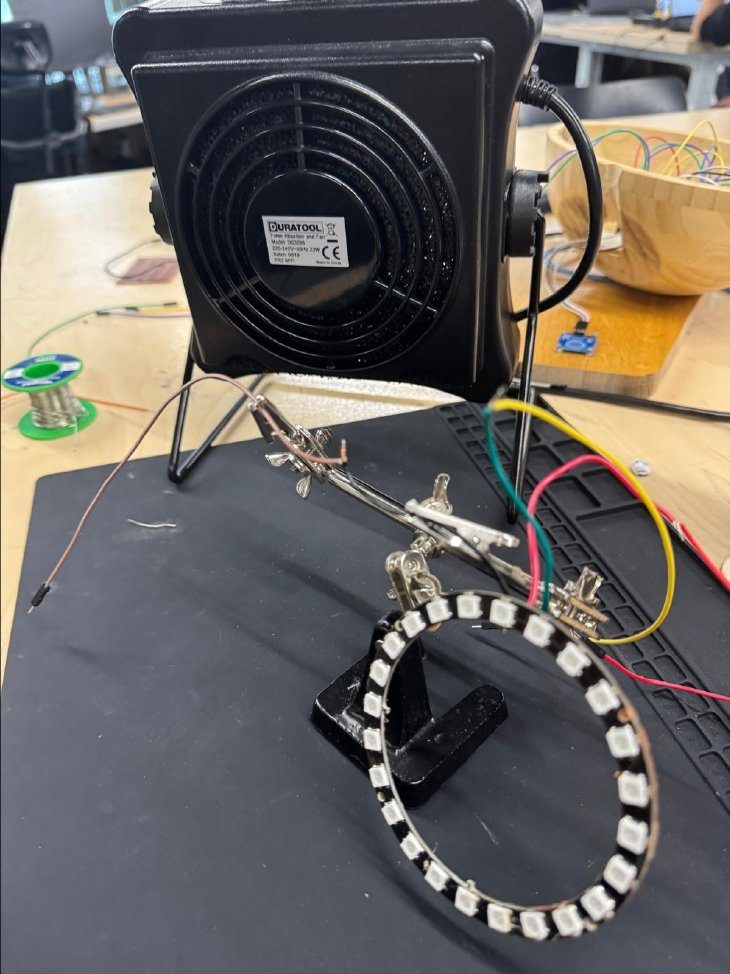
- Soldered, not pluggedThe old LED cable kept dropping out, so we soldered it before it could fail inside the lamp.
- A resin lidDesigned in Fusion 360 by Myles. Translucent blue resin, with an inner lip that stops it sliding off at an angle.
- Oak from the offcut binBand-sawn at an angle on both ends, then sanded round to match the bowl.
- On show, on purposeWe’d planned to hide the sensor, then liked seeing how the lamp works.
 01 / 06
What we kept, and what we cut.
IKEA bamboo bowl+
Electronics inside, under a platform+
Bowl tilted on a sanded-flat side+
Lid with an inner lip+
Touch sensor on show+
USB power+
The finished lamp responds to the room.
Change the light around it and the glow shifts to match. The only thing you ever touch is the sensor on the base.
What I’d do next.
Both sensors died on us near the end. The touch sensor came back the next day. The light sensor failed days before the presentation, and started working again once its replacement was on order. We never found out why. Next time I’d check connections and power first, and keep spares.
- Test with real peopleOur testing was the two of us in a studio. A week on a few people’s desks, counting every tap on the sensor, would show how often the automatic brightness gets it wrong.
- A custom PCBThe breadboard and jumper wires work, but they’re messy and fragile.
- Auto-off after two hoursFor when someone falls asleep or leaves with the lamp at full brightness.
- Clap to switchA sound sensor, if it can ignore everything that isn’t a clap.
Lids in any colour.
Translucent resin comes in any colour, so the lid can be swapped. Pick one: the page’s light changes with it.